Why Quality Control Matters in Collision Repair
Rework is expensive. A missed measurement, a skipped inspection step, or a part installed slightly out of spec can mean pulling a vehicle back into the bay days after it left, and that costs labour, parts, and trust.
Insurers require evidence that a repair adheres to manufacturer specifications. Customers want their car to perform, sound, and handle as it did pre-accident. Every repair, from a minor bumper sensor bracket adjustment to a major structural realignment, affects safety systems.
Integrating quality control throughout the entire repair is more effective than a final inspection. Catching an issue at the measurement stage is far cheaper than catching it after painting.
Pre-Repair Inspection Checklist Before Work Begins
Document the vehicle’s condition
Start with photos of every angle, plus written notes on existing damage and anything the customer mentions about how the vehicle handles or sounds. This record protects the shop and the customer if questions come up later.
Verify the repair plan
Confirm the OEM repair procedures for the specific model, check that the right parts are available or on order, and assess the full extent of structural damage before committing to a repair path.
Perform an initial structural measurement
A baseline measurement, taken before any disassembly, establishes the vehicle’s true starting point and often reveals hidden damage that a visual inspection alone would miss.
Structural and Mechanical Checks During Repairs
Verify structural alignment throughout repairs
Chassis dimensions should be checked against the baseline data at defined points during the repair, not just once at the end. Comparing pulling progress to those reference points early can catch a correction that is drifting off course before it becomes a bigger fix.
Inspect replacement parts and installation
Confirm the correct parts arrived, check fitment before final installation, and inspect fasteners and weld quality against the procedure the manufacturer specifies for that joint.
Confirm mechanical and safety systems
Suspension, steering, and braking components all need a functional check, and any airbag or other safety related work should be verified against OEM documentation before the vehicle moves to the next stage.
Paint and Refinishing Quality Checklist
Surface preparation
Sanding, cleaning, and priming all affect how the finish holds up, so surface preparation gets checked before a single coat goes on.
Colour matching
A colour match should be verified under proper lighting, ideally against an undamaged panel, before the full panel goes through the booth.
Paint finish inspection
Once cured, check texture, gloss consistency, dust contamination, and how well the edges blend into the surrounding panels.
Assembly and Fitment Checklist
Panel alignment
Panel gaps should be even side to side, panels should sit flush, and doors, the bonnet, and the tailgate should open and close without catching.
Exterior components
Lights, mirrors, trim, glass, and weather seals all need a functional and fitment check before delivery.
Interior inspection
Inside the cabin, check the dashboard, upholstery, electronics, and confirm no warning lights are showing that were not there before the repair.
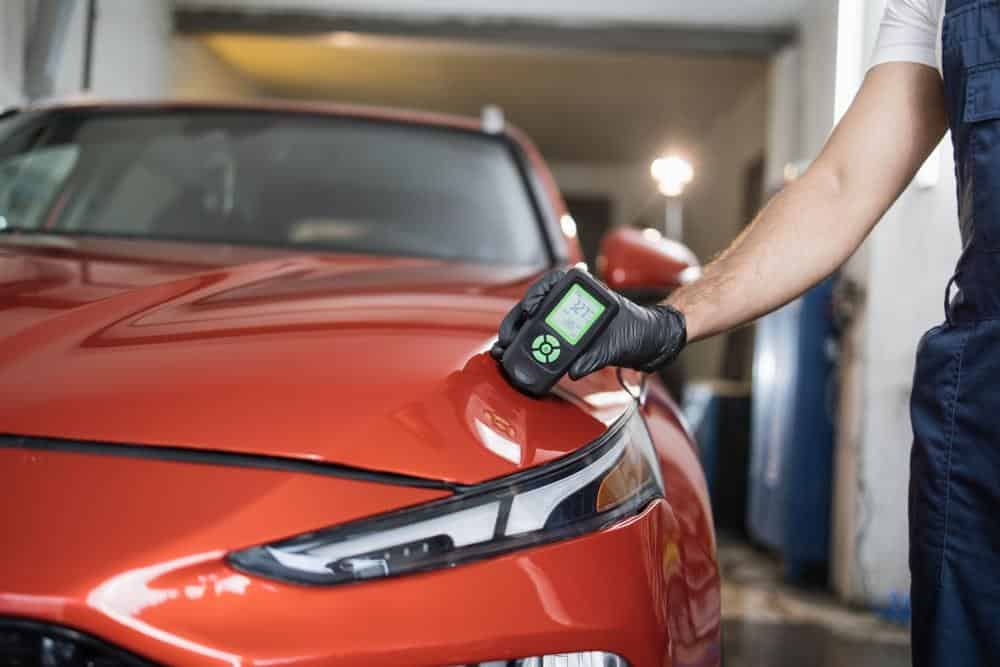
Final Quality Control Before Vehicle Delivery
Before a vehicle leaves the shop, a final round of checks pulls everything together.
- Structural measurements verified
- Panel alignment confirmed
- Paint quality approved
- ADAS calibration completed, where applicable
- Road test performed
- Diagnostic scan completed
- Fluids checked
- Vehicle cleaned
- Customer documentation prepared
How Digital Tools Strengthen Quality Control
Using a 3D frame measuring system
A 3D frame measuring system gives technicians an objective read on structural accuracy instead of relying on eye and experience alone. This report delivers the measurement data that insurers and OEM certification programs require, and it helps standardize repair results regardless of the technician or vehicle.
Accessing an AI vehicle repair database
An AI vehicle repair database gives technicians faster access to vehicle specific repair information and OEM reference data, cutting into the manual lookup that used to eat into repair time. That speed adds up, especially in shops running several vehicles through the bay at once.
Common Quality Control Mistakes to Avoid
A few habits tend to show up again and again in shops that struggle with rework.
- Relying only on visual inspections
- Skipping intermediate quality checks between repair stages
- Incomplete or missing documentation
- Failing to verify repairs against OEM specifications
- Skipping the final road test
Building a Culture of Continuous Quality Improvement
Unless the shop actively employs them, checklists are ineffective. Quality control becomes automatic for the team, rather than something a manager needs to pursue, due to standardized procedures, continuous technician training, and digital documentation.
Consistent quality checks, combined with a frank review of rework and customer input, usually reveal the same few persistent problems. Addressing the fundamental issues frequently enhances repair quality more than augmenting the checklist.
Turning This Checklist Into Consistent Repair Quality
A comprehensive auto body shop quality control checklist helps make sure repairs are safe, consistent, and completed to a high standard. Pairing structured inspection at every stage with tools such as a 3D frame measuring system and an AI vehicle repair database gives collision repair centres a more accurate, better documented repair process, one that holds up with customers, insurers, and OEM partners alike.
Celette’s NAJA 3D measuring system and AI powered vehicle database support that process at every stage, from the first damage assessment through final verification.
References:
- Occupational Safety and Health Standards for Automotive Repair. Retrieved August 2026, from https://www.osha.gov/autobody
- Driver Assistance Technologies. Retrieved August 2026, from https://www.nhtsa.gov/road-safety/driver-assistance-technologies